DLTK's Crafts for Kids
DIY Clay Beads for Kids: A Fun and Easy Tutorial
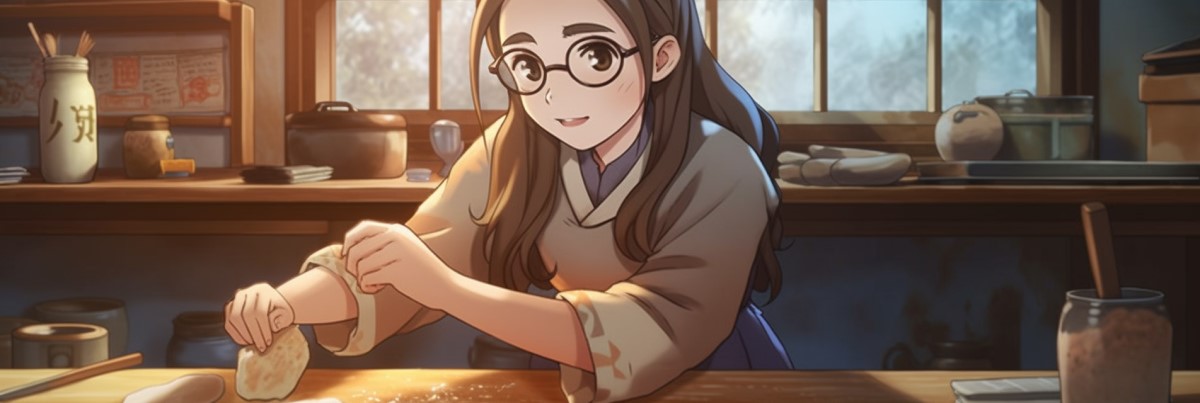
In this tutorial, we will guide you through the steps to make your very own salt dough beads. These beads can be used to create jewelry like necklaces and bracelets, or for decoration like creating a decorative garland. Whether you're a crafting novice or a seasoned pro, this project is sure to be a fun and engaging one!
Materials:


- Salt dough clay (home made or purchased)
- Air Dry Clay
- Air Dry Clay #2
- Air Dry or Bake Clay - basic, three ingredient recipe, can be colored with tempra paint.
- Air Dry or Bake Clay #2 - dries whiter than the previous version, but requires cooking
- Air Dry Sawdust Clay - clay dries to a very hard finish
- Toothpick or skewer
- Baking sheet lined with parchment paper or foil
- Acrylic paint and paintbrushes (optional)
- Clear acrylic sealer or varnish (optional)
- String or yarn for stringing beads
Instructions:
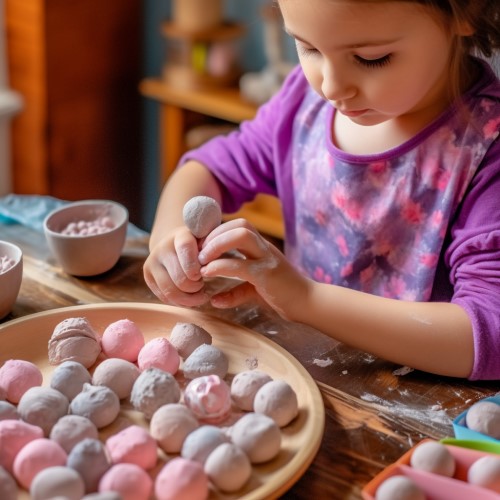
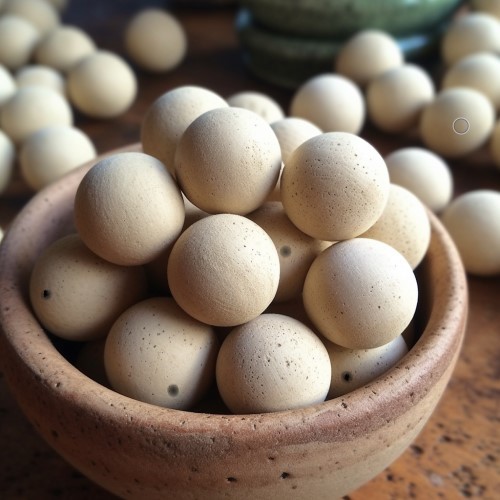
- Create your beads: Start by rolling small amounts of the salt dough clay between your fingers to create balls. These will become your beads. You can make them as big or small as you like. Try to keep them as round and smooth as possible. If you want to make different shapes, feel free to do so.
- Hole punching: Use a toothpick or skewer to poke a hole through the center of each bead. Make sure the hole is big enough for your string or yarn to pass through but not so big that the bead loses its shape. Try to keep the hole as centered as possible.
- Bake or air dry your beads: Place your beads on a baking sheet lined with parchment paper or foil, making sure they don't touch each other. Then, follow the drying instructions provided in the salt dough clay recipe. Remember to turn the beads occasionally if you're air-drying them, to ensure they dry evenly.
- Paint your beads (optional): Once your beads are completely dry, you can paint them using acrylic paints. Allow your creativity to shine here - you can make them all one solid color, paint patterns or designs, or even paint them to look like real gemstones. Allow the paint to dry completely before moving on to the next step.
- Seal your beads (optional): If you painted your beads, you may want to seal them with a clear acrylic sealer or varnish. This will give them a glossy finish and help protect the paint from chipping or fading -- it also keeps them from reabsorbing moisture. Again, allow them to dry completely before the next step.
- String your beads: Once your beads are dry, thread them onto the string or yarn. You can create a pattern with the colors, or string them randomly, it's completely up to you.
And voila! You've created your own unique bead necklace, bracelet, or decorative garland from homemade salt dough clay. Remember when using air dry clay to store your salt dough creations in a cool, dry place to prevent them from absorbing moisture and becoming soft again.
Happy beading!
Leanne
Print friendly version of these instructions.