DLTK's Blog
"Fridays are for Fertilizer"
A Container Garden for Close-Quarters Living
June 2020
Where Griffin and I live is very tiny (just under 750 sq. ft). We moved from our small-town Ontario house to Hamilton in October of 2019 to make my Ph.D. work commute a little lighter. (I am glad to announce that I achieved official candidacy in January of this year!) Obviously, COVID-19 changed our initial spring plans. For example, I had flights and a trip to Scotland booked for most of June with my friend Sally. Even though I was pretty upset about that missed opportunity, we all have lots of adventures planned for the future and I have been keeping busy with at-home activities.
With this drastic change of lifestyle, I decided to more deeply document spring and summer routines that I might normally overlook. I have always loved plants and gardening. Growing up, Mom and Dad had the most beautiful gardens. My childhood was filled with more trips to nurseries and garden centers than I care to count; I would like to say that Kaitlyn and I “helped” Mom with pruning, deadheading, and getting our mini landscapes ready for bloom; yet, I can certainly say that I was absolutely no help when it came to the actual landscaping (uh, we saved that labour for Dad). All in all, my most distinct memories include overflowing bleeding hearts plants, the smell of gardening gloves, and slivers from the wooden bucket filled with dried gardening scraps. Also, I remember being obsessed with playing in the sprinkler—probably much to my parents’ chagrin!!
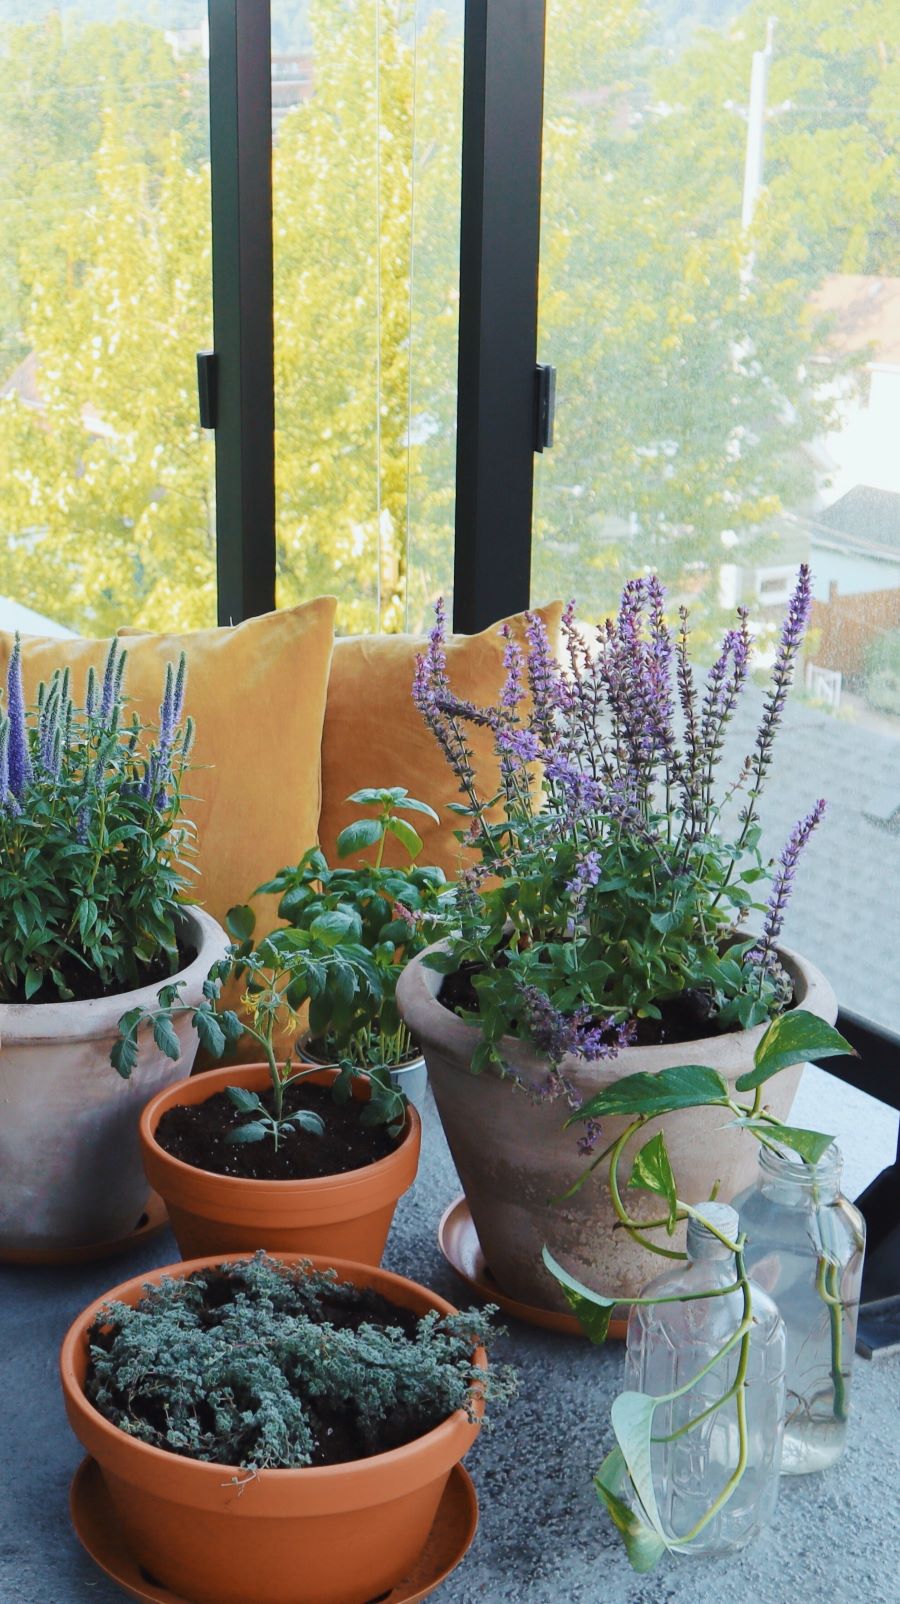
Griffin and I have been loving our plant-potting experiences for our tiny new deck. We find ourselves outside a lot reading, watching TV shows on the iPad, and hanging out with our cat Sonja. But in this, we have also found that we do not have a lot of space to work with!

Last year, we had room for lots of perennials, with a side plot, and managed to plant two rows of hosta plants, some salvia and lavender, and a 5-gallon (gal) bucket of cherry tomatoes. My dream is to have a garden trellis for tomatoes that sits adjacent to a lush garden filled with upkept annual plants!
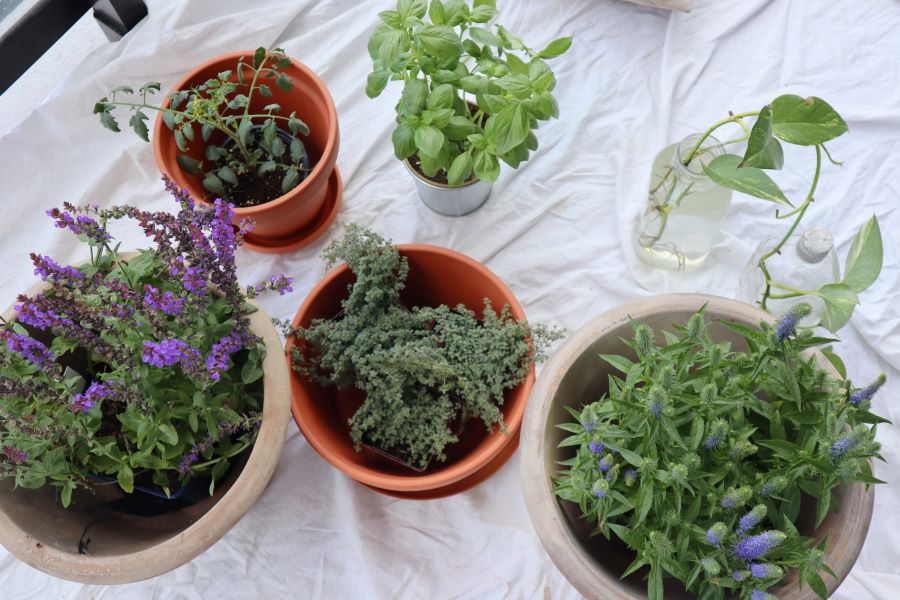
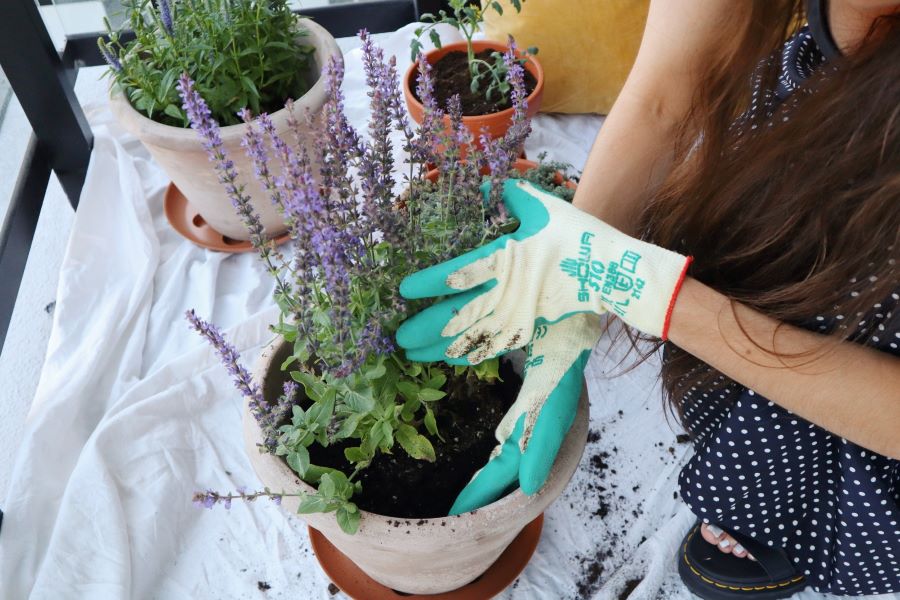
This year, our plan is to keep a few containers filled with woolly thyme, cherry tomatoes, speedwell, sage, basil (grown over the spring from seed) and maybe a few other latecomers. Urgent on our list is a tomato cage to stick in the soil of the current tomato pot—it’s supposed to be a long, hot summer, and I can foresee our cherry tomato plant growing big and tall with all of that extra support from the deck’s railing!
GARDENING NOTES: WOOLLY THYME
- Feel free to water your woolly thyme whenever the first three inches of soil are dry! In other words, keep your soil damp farther down but not soggy up near the top! (Since I am home all of the time, I simply stick my finger in the soil to check for moisture and then water if there is none.)
- You only "need" to fertilize your woolly thyme if you notice any browning. Discoloration could also mean your thyme needs to be transplanted due to insufficient draining. If you are like me and enjoy the extra boosts of growth, consider fertilizing your thyme once every two weeks (every second Friday for us!)
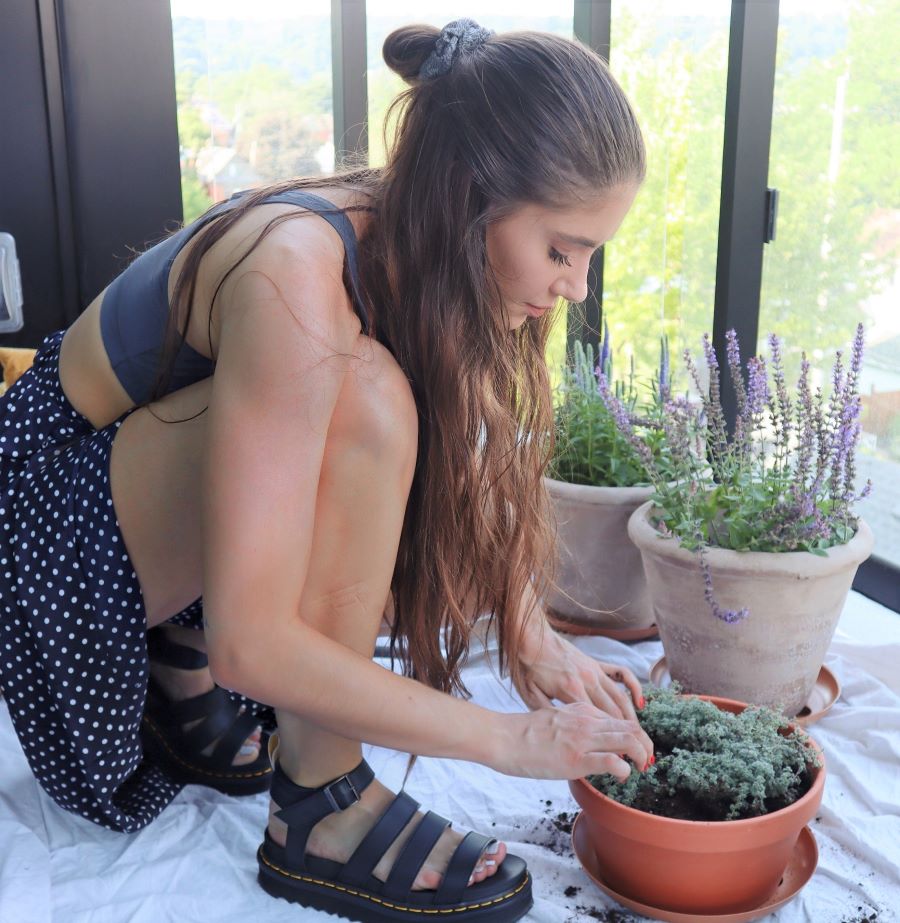
- Since woolly thyme often operates as dense ground covering, I grabbed a larger but more shallow pot and planted 1-gal of thyme.
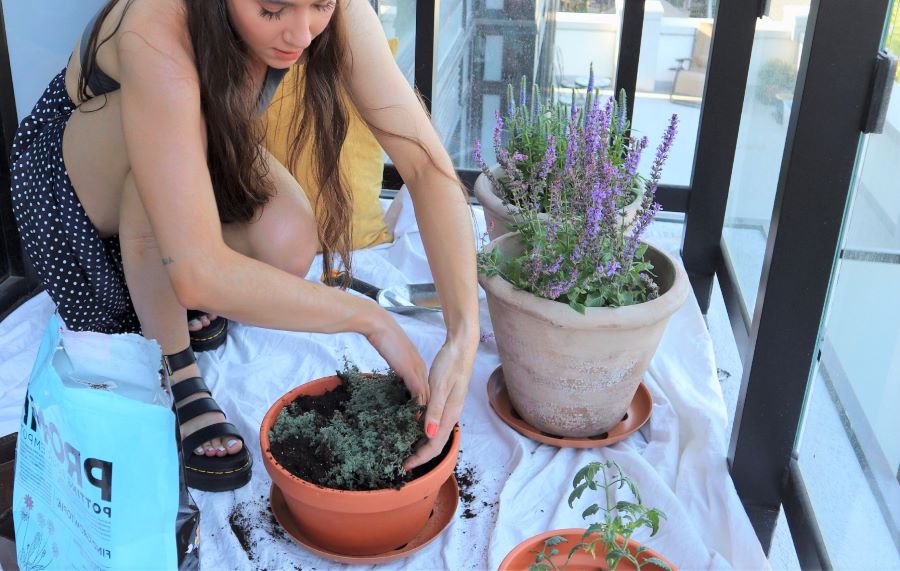
POTTING: THYME
- Fill your large pot with potting soil, and water the soil before you add your thyme plants
- Add more soil to potting mix (until you have 2 inches below the rim of the pot), leave dry, and make sure your soil is level
- Dig three small holes in your soil, evenly spread
- Remove your thyme plants from their containers (TIP: squeeze the bottom of the container to help the plant slide out way easier) and slide them into their respective holes
- Fill in necessary areas around your woolly thyme with soil, and ensure your soil is level
GARDENING NOTES: CHERRY TOMATOES
- Water your tomatoes once every 1-2 days
- Fertilize once a week with tomato food (this fertilizer is sold at grocery and hardware stores)
- You can grab a 33-inch steel tomato cage from most hardware stores (these are very cheap and accessible; even if you have a deck rail for plant support, I would still recommend a cage of some sort)
- Whenever you see tomato leaves sticking too far out of your cage, gently push them back inside to help stimulate upward plant growth and stability
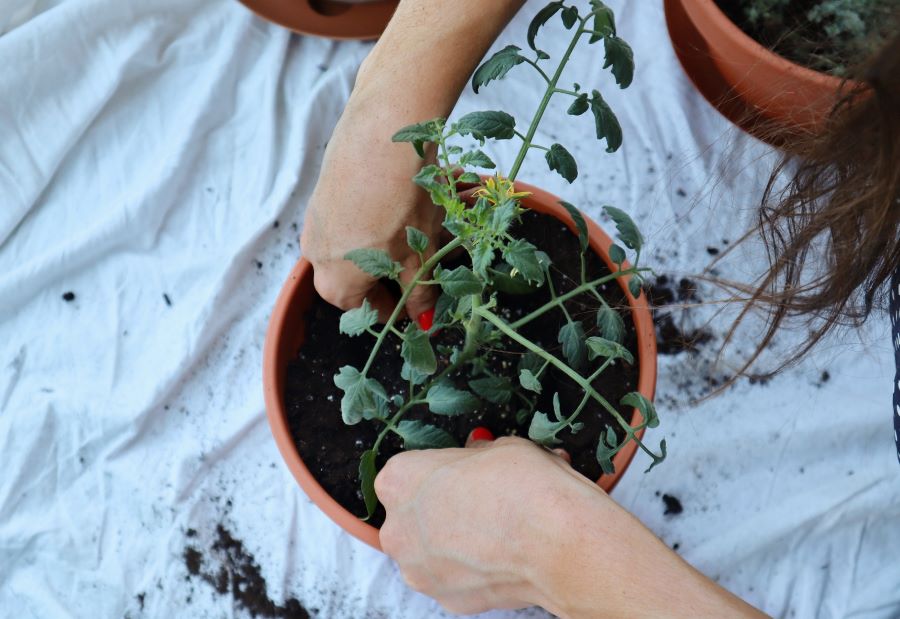
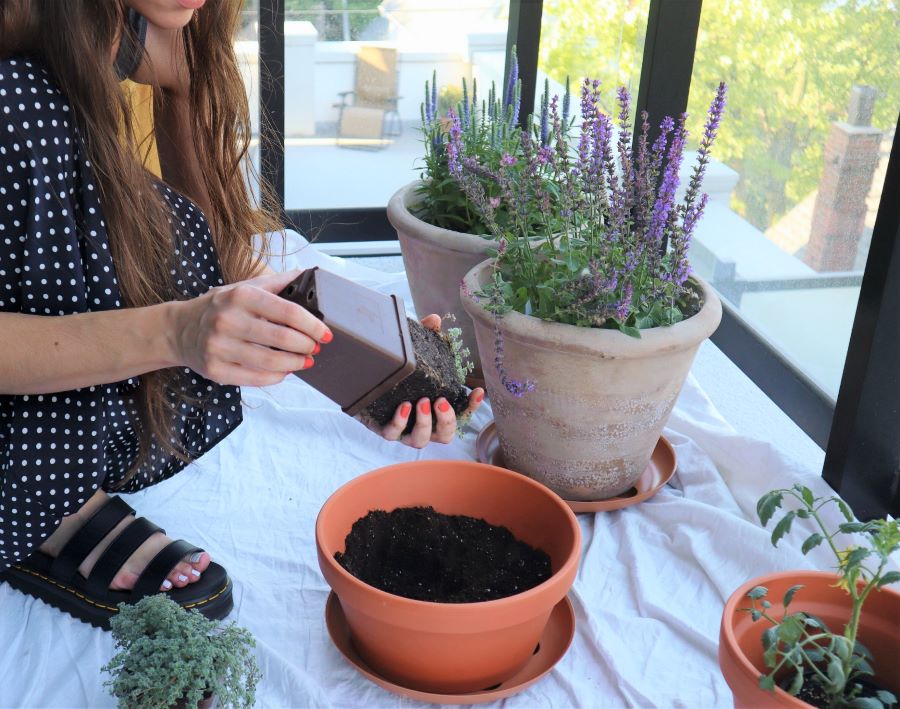
POTTING: TOMATOES
- Fill your pot (up to 5-gal) with potting soil, and water the soil before you add your tomato plant
- Add more soil to potting mix (until you have about ½ inch below the rim of the pot), and make sure your soil is level
- Dig a small but deep hole in the center of your soil for your tomato plant
- Remove your tomato plant from its container and slide it into the soil (be sure to plant it farther down so that some of the leaves are under the soil when you cover it)
- Cover with soil, leaving only 4-*ish* leaves visible at the top
GARDENING NOTES: DWARF SPIKE SPEEDWELL
- Water your speedwell once a week or more—depending on summer temperatures—but be sure not to leave the soil soggy (stick your finger in the soil!)
- Speedwell loves full sun (~ 6hrs) but can handle some shade
- Don't forget to deadhead flowers to encourage rebloom: once you see a "spent" flower (meaning that it's all dried up and brown) cut it off with shears at an angle
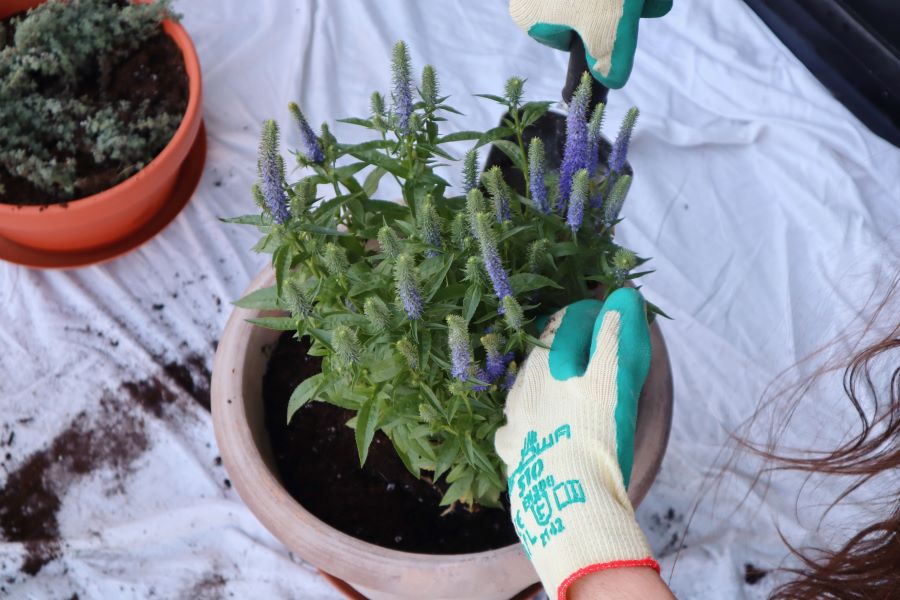
POTTING: SPEEDWELL
- Fill your pot with soil and compost (we used 12-inch pots for the speedwell and the sage and grabbed compost from our little green compost bin)
- Dig a suitable-sized hole for your speedwell plant
- Remove your speedwell from its container and gently loosen the roots (this is called "teasing out the roots") before planting
- Place speedwell in the soil so that the top of the root ball is level with the soil; it is important not to plant your speedwell too deeply in the soil
- Gently fill in soil and tamp flat
- Water well until "established" (this means that you will have to water it more heavily for about a week after it has been transplanted than you would for the rest of the summer)
GARDENING NOTES: PERENNIAL SAGE
- IMPORTANT: Do not overwater your sage
- TIP (for overwatered plants): remember to stick your finger in the soil to check deeper down if it is damp! If you feel moisture, do not water!
- Water once a week (or less) depending on summer temperatures
- Sage loves the full sun and partial shade; remember, this is a sturdy plant that can thrive in drier soils
- Deadhead flowers to encourage rebloom
- If necessary, deadhead near the base of any stalks (you will see brown "bits" and leaves that can be cut to encourage blooming)
POTTING: SAGE
- Fill your pot with soil and dig a suitable-sized hole for your sage
- Since there are so many varieties of sage, be sure to check online or in a gardening book for how much room your particular sage needs to grow and flourish; ours grows up to 45 cm high and 40 cm wide (!!)
- Remove your perennial sage from its container and place it in the hole so that the soil only just covers the top of the root ball (this will be a little lower in the soil than the speedwell was planted, for example)
- Fill in necessary areas with soil, cover the root ball, and flatten gently
Thanks for following along with our gardening adventures!
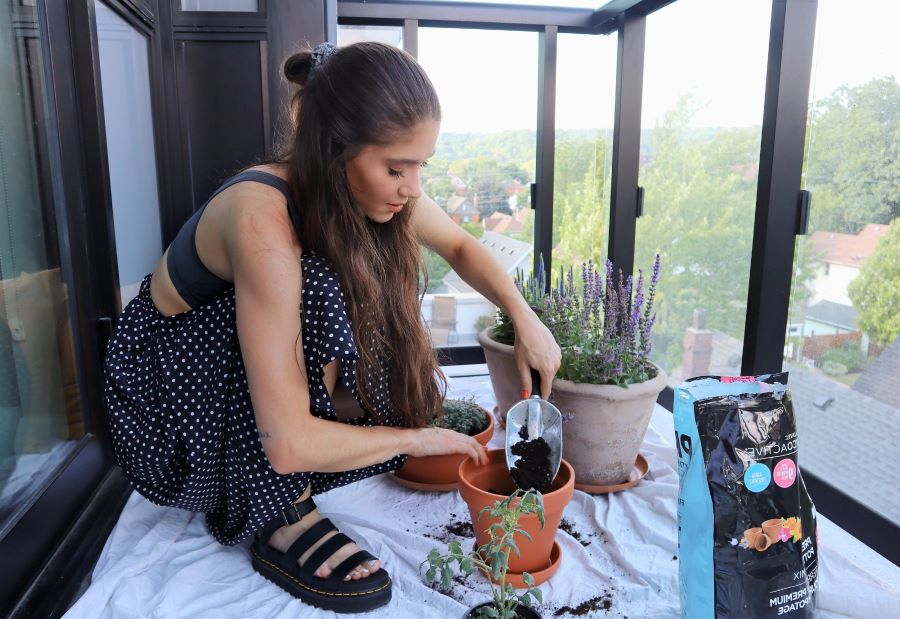
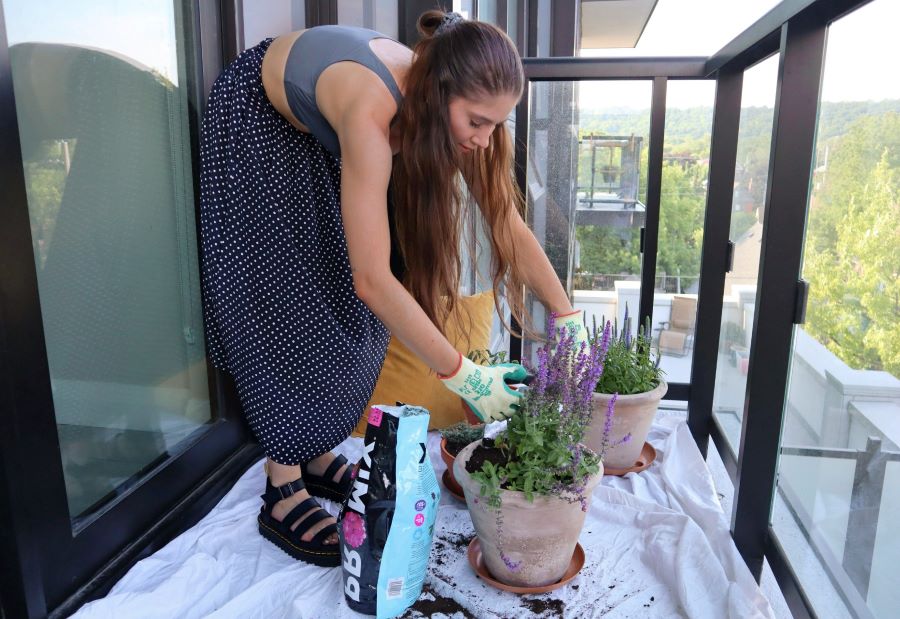
The end-of-day shade made for the absolutely perfect time to get these babies planted and ready for summer! With this small-deck-gardening experience, we have learned how lucky we are to have an east-facing home: our deck is a visual representation of full-sun. And by 5:00 pm, we have enough shade to help cool everything off (including us)!
Check out more DLTK's summer activities, and please do take good care!
 About Tasha:
I am the "T" in DLTK! In my spare time, I love to hike, read poetry, and hang out with my two cats. You can connect with me here.