DLTK's Crafts for Kids
DIY Clay Ornaments for Kids: A Fun and Easy Tutorial
Embrace the spirit of creativity and holiday cheer with this exciting project – homemade clay dough ornaments. Easy to make, fun to paint, and perfect as personalized gifts or decorations, these ornaments are an ideal craft for both children and adults. Using our simple salt dough clay recipe, you will be able to shape, bake, and decorate your own festive ornaments. Let's get started!
Materials:

- Salt dough clay (home made or purchased)
- Air Dry Clay
- Air Dry Clay #2
- Air Dry or Bake Clay - basic, three ingredient recipe, can be colored with tempra paint.
- Air Dry or Bake Clay #2 - dries whiter than the previous version, but requires cooking
- Air Dry Sawdust Clay - clay dries to a very hard finish
- Rolling pin
- Cookie cutters in festive shapes
- Toothpick or skewer
- Baking sheet lined with parchment paper or foil
- Acrylic paint and paintbrushes
- Clear acrylic sealer or varnish (optional)
- Ribbon or string for hanging
Instructions:
- Prepare the salt dough: Follow the provided salt dough clay recipe to prepare your dough.
- Roll out your dough: On a clean, flat surface, roll out your dough to a thickness of about 1/4 inch using a rolling pin. If the dough sticks, you can use a bit of extra flour on the rolling pin and the surface.
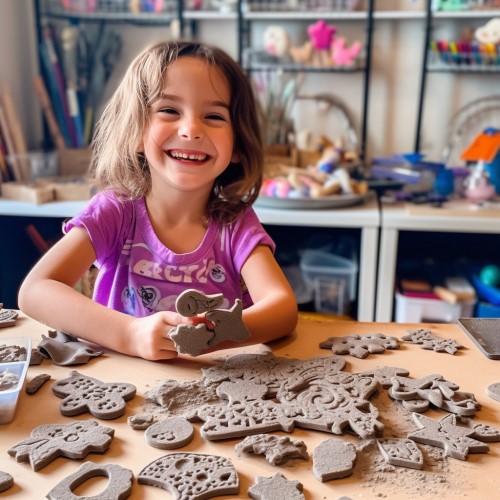
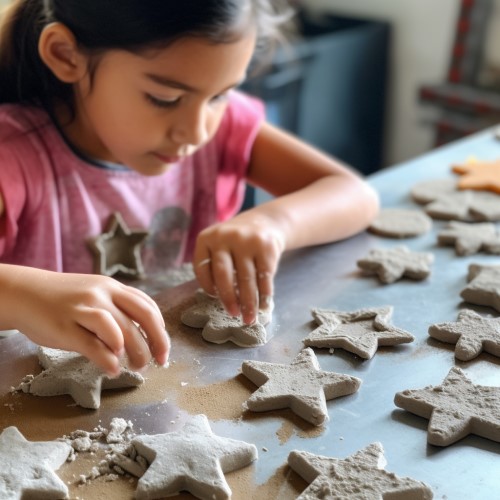
- Cut out shapes: Using your cookie cutters, cut out shapes from the dough. You could use holiday-themed shapes like stars, trees, or snowflakes, or any other shape you like.
- Make a hole for hanging: Use a toothpick or skewer to poke a hole near the top of each ornament. Make sure the hole is big enough for the ribbon or string to pass through after baking.
- Bake your ornaments: Place your cutouts on a baking sheet lined with parchment paper or foil, making sure they don't touch each other. Then, follow the drying instructions provided in the salt dough clay recipe.
- Decorate your ornaments: Once your ornaments are completely dry and cooled, you can paint them using acrylic paints. Allow your creativity to shine here - you can make them all one solid color, paint patterns or designs, or even write names or messages on them. Let the paint dry completely.
- Seal your ornaments: After the paint has dried, you can seal your ornaments with a clear acrylic sealer or varnish. This will give them a glossy finish and help protect the paint from chipping or fading. Let the sealer or varnish dry completely.
- String your ornaments: Thread a piece of ribbon or string through the hole in each ornament, tying a knot to create a loop for hanging.
Congratulations! You have now made your own homemade clay dough ornaments. Hang them on your Christmas tree, give them as gifts, or use them as festive decorations around your home. Remember, crafting is about enjoying the process, so don't worry about making your ornaments perfect. The charm of homemade ornaments lies in their unique and personal nature.
Happy crafting!
Leanne
Print friendly version of these instructions.