DLTK's Crafts for Kids
Decoupage Pressed Plants and Daisies Votive Candle Holder Tutorial
 Brighten up your room with a personalized Decoupage and Daisies Tealight Candle Holder. This tutorial will guide you step-by-step to create a delightful craft that combines the natural beauty of pressed flowers with a touch of painted whimsy.
Materials:
- A glass jar
- Mod Podge or white craft glue
- Pressed leaves or flowers
- White and yellow acrylic paint
- A paint pallet (or a piece of waxed paper or aluminum foil can work in a pinch)
- Q-tip or small paintbrush
- Battery operated tealight
Instructions:
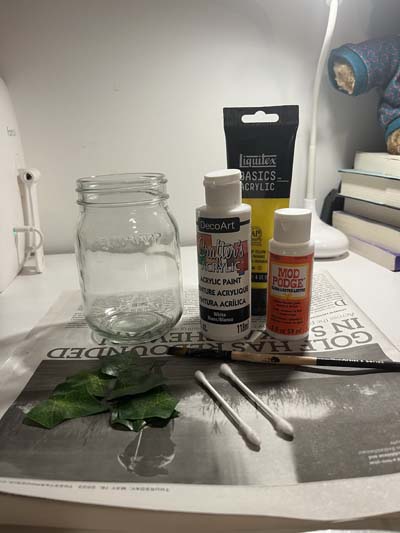 Step 1: Gather Your Materials
Start by gathering all your materials together in a clean, spacious workspace. Having everything on hand will make your crafting process smoother.
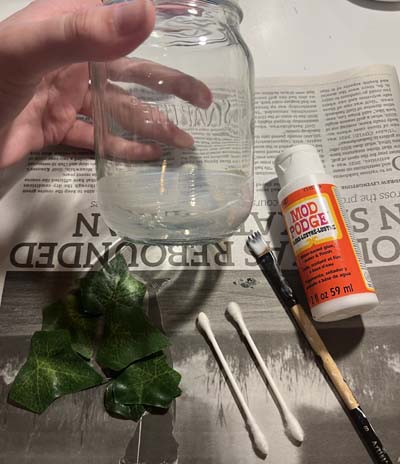 Step 2: Clean Your Jar
If you're repurposing a jar, clean it thoroughly and remove any labels. A clean surface will allow the Mod Podge and paint to adhere better.
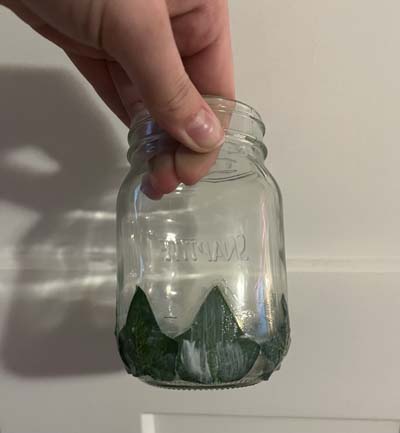 Step 3: Attach Pressed Flowers or Leaves
Apply a layer of Mod Podge to the bottom half of the jar. Carefully place your pressed leaves or flowers onto the Mod Podge, arranging them as you see fit. Smooth them gently with your fingers or a flat tool to ensure they adhere well.
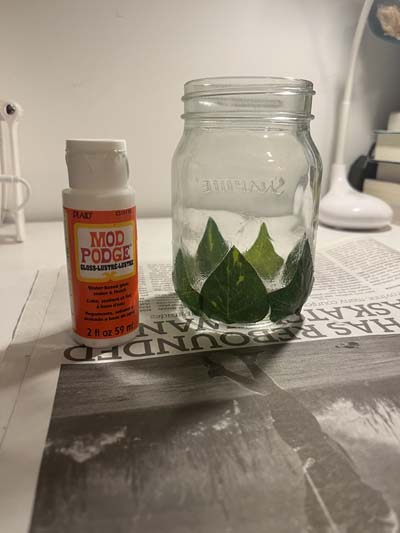 Step 4: Seal the Pressed Elements
Apply another layer of Mod Podge over the pressed flowers or leaves, sealing them in place. This will help protect the delicate natural elements and give your jar a beautiful finish. Allow it to dry completely.
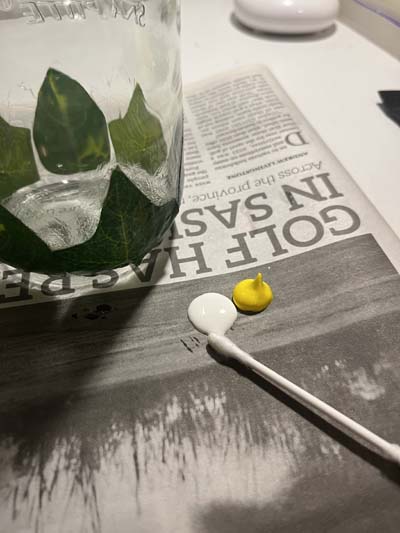 Step 5: Prepare Your Paints
Place a small dollop each of white and yellow acrylic paint on your paint pallet. This is the fun part where your votive candle holder starts to come to life!
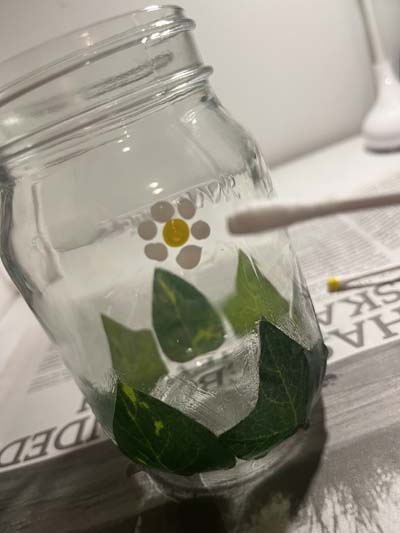 Step 6: Paint Your Daisies
Begin by dipping your Q-tip or small paintbrush into the yellow paint and dotting it onto the jar. This dot will serve as the center of your daisy. Next, clean your Q-tip or brush and dip it into the white paint. Surround your yellow dot with six white dots to form the petals of your daisy.
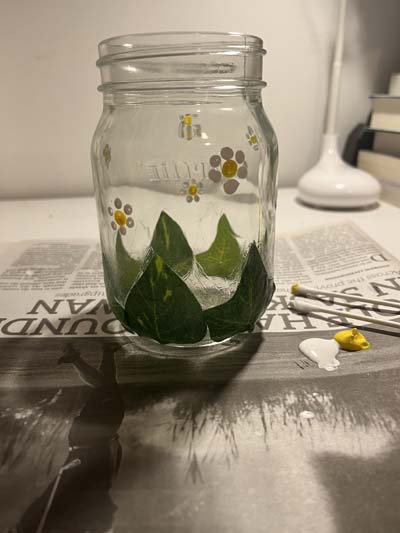 Step 7: Create Multiple Daisies
Repeat step 6 to create more daisies around your jar. Feel free to vary the size and number of your daisies for a more dynamic look.
Step 8: Display Your Craft
Once your paint has dried, your Decoupage and Daisies Votive Candle Holder is ready for display. Place a battery-operated tealight inside to safely illuminate your beautiful creation. If you're displaying this in a child's room, always use a battery-operated tealight for safety.
Print friendly version of these instructions.
And voilà! You now have a stunning Decoupage and Daisies Votive Candle Holder that not only brings light into your space but also showcases the beauty of nature and your artistic skills. This craft is a great way to explore creativity and repurpose materials in an eco-friendly way.
The difficulty level of this craft is considered to be "Grade school and higher." It's a very simple project, but it requires some patience and attention to detail. It is suitable for individuals with basic crafting skills and can be enjoyed by both children and adults. To ensure successful completion of the Decoupage Pressed Plants and Daisies Votive Candle Holder, here are some helpful tips:
- Gather all the materials before you begin to make the crafting process smoother.
- Clean the jar thoroughly, removing any labels or residue, to provide a clean surface for better adherence of Mod Podge and paint.
- When attaching pressed flowers or leaves, arrange them thoughtfully and press them gently to ensure they adhere well to the jar.
- Apply an additional layer of Mod Podge over the pressed elements to seal and protect them, allowing it to dry completely.
- Take your time to prepare the paints and choose the colors that complement the natural beauty of the pressed plants.
- When painting the daisies, start with the yellow center dot and then add the white dots around it to form the petals.
- Feel free to vary the size and number of daisies for a more dynamic and artistic look.
- Once the paint has dried, your candle holder is ready for display. Use a battery-operated tealight for safety, especially if it's intended for a child's room.
Remember to enjoy the process and let your creativity shine through. Don't hesitate to experiment with different variations or techniques to make your Decoupage Pressed Plants and Daisies Votive Candle Holder truly unique. Happy crafting!
Shine bright!
Leanne