DLTK's Crafts for Kids
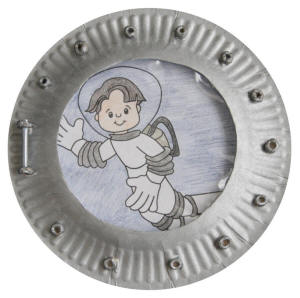
Paper Plate
Spaceship Porthole
Craft

This paper plate porthole provides the perfect opportunity for kids to "see what's under the sea". It's a good craft for an outer space theme.
Materials:
- paper plate,
- silver, white, gold or grey paint and paint brush
- cheerios -- you need about a dozen for the craft and, if your kids are anything like mine, half a box for nibbling on while making the craft!
- a drinking straw or a pretzel
- scissors,
- glue,
- one piece of blue construction paper or cardstock
- clear plastic (we used the clear half of a large ziploc bag)
- paper,
- printer,
- something to color with
Instructions:
- Cut a circle from the center of a paper plate.
 If making a porthole: For the handle:
- Glue cheerios to each end of a 2 inch length of a straw or a pretzel and then glue to the paper plate
or - glue a milk carton cap and then glue to the paper plate.
- Glue cheerios to each end of a 2 inch length of a straw or a pretzel and then glue to the paper plate
 Glue cheerios around the outside of the plate as decorative “bolts”
- Paint the whole plate, including the cheerios silver, grey, white or gold.
- Let dry.
- Optional: Glue a piece of clear plastic inside the paper plate to cover your porthole (the clear half of large freezer Ziploc bags work well for this… I find saran wrap a bit too clingy and difficult to work with)
-
 Print out the template of choice.
 - Color the template pieces if using the B&W version.
- Cut out the template.
- Glue the paper plate over the template so you can see it through the hole.
Templates:
- Close the template window after printing to return to this screen.
- Set page margins to zero if you have trouble fitting the template on one page (FILE, PAGE SETUP or FILE, PRINTER SETUP in most browsers).
Template (alien): (color) or (B&W)
Template (astronaut): (color) or (B&W)
Template (earth): (color) or (B&W)

Cosmonaut Sergei K. Krikalev, flight engineer for Expedition One, is positioned at a port hole on the Zvezda service module of the International Space Station.
Source: NASA International Space Station Imagery
Print friendly version of these instructions