DLTK's Crafts for Kids
Watercolor Background Techniques for Beginners
 Contributed by
Leanne Guenther
Contributed by
Leanne Guenther
Creating exciting and unique watercolor backgrounds can add depth and interest to your paintings. Here are some fun tips and techniques for beginner artists to experiment with when creating watercolor backgrounds:
Materials:
- Watercolor paper (cold press, 140 lb or heavier)
- Watercolor paints (student grade is fine)
- Brushes (round and flat)
- Water container
- Paper towel or cloth
- Palette (or a white plate)
- Masking tape
- Board or sturdy surface
- Spray bottle(optional)
- Eyedropper(optional)
- Tissue paper (optional)
- Plastic wrap (optional)
- Salt (optional)
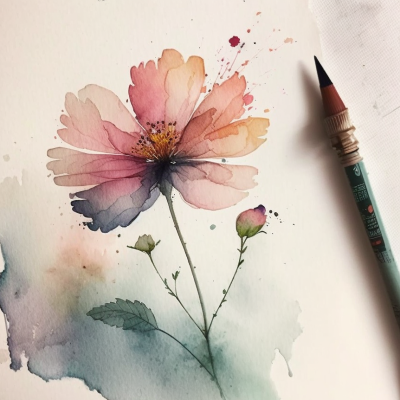
All examples below were done by my daughter. Don't fret and have fun with trying out different approaches!
Instructions:
Technique 1: Wet-on-Wet Gradient
 Tape your watercolor paper to the board.
- Wet your paper evenly using a large flat brush.
- Choose two or more colors that you'd like to blend.
- Start with the lightest color and apply it to one end of the paper.
- Gradually add the next color(s), allowing them to blend naturally.
- Tilt the board slightly to encourage the colors to flow together.
- Whether you do gradients or just random blobs of colour (pictured at the beginning of this article), wet-on-wet watercolour painting in a very transparent style toward the center of the page is my favorite way of doing backgrounds!
Technique 2: Splatter Effects
 Tape your watercolor paper to the board.
- Choose a few colors and mix them on your palette.
- Wet your brush with one color and tap it against your finger or another brush, creating splatters on the paper.
- Repeat with other colors, allowing them to overlap and blend.
- Experiment with different brush sizes for varied splatter effects.
Technique 3: Salt Textures
 Tape your watercolor paper to the board.
- Apply a wet wash of color to your paper.
- While the paint is still wet, sprinkle some salt over the surface.
- Allow the paint to dry completely, and then brush off the salt to reveal the unique textures it created.
Technique 4: Plastic Wrap Textures (or tissue paper)
 Tape your watercolor paper to the board.
- Apply a wet wash of color to your paper.
- While the paint is still wet, press a piece of plastic wrap onto the surface.
- Gently scrunch and manipulate the plastic wrap to create interesting patterns.
- Allow the paint to dry completely before carefully removing the plastic wrap.
Technique 5: Spray Bottle or Water Droplet Effects
 Tape your watercolor paper to the board.
- Apply a wet wash of color to your paper.
- Fill a spray bottle or eyedropper with water.
- While the paint is still wet, mist the surface with the spray bottle from different angles and distances.
- Allow the paint to dry, revealing the unique patterns created by the water droplets.
Remember, the key to creating beautiful watercolor backgrounds is to have fun and experiment with different techniques. Don't be afraid to try new things and enjoy the creative process!
More:
Print friendly version of these instructions