DLTK's Crafts for Kids
Fun Watercolor Sketches for Beginners (Age 12+)
 Contributed by
Leanne Guenther
Contributed by
Leanne Guenther
Unleash your creativity with our fun watercolour sketching tutorial for beginners! Join us and discover the joy of painting with watercolours, no experience necessary.
Materials:
- Watercolor paper (I prefer cold press 140 pound)
- Watercolor paints (student grade is fine)
- Brushes (round and flat)
- Pencil (HB or 2B)
- Eraser
- Water container
- Paper towel or cloth
- Palette (or a white plate)
- Masking tape or painter's tape
- Board or sturdy surface
Instructions:
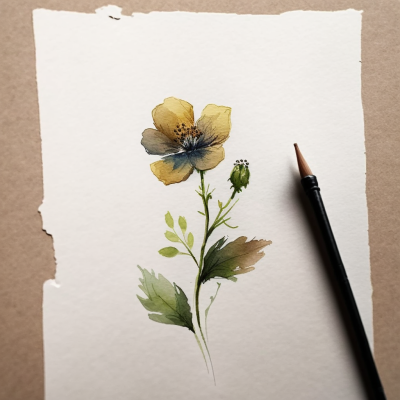
Step 1: Choose your subject
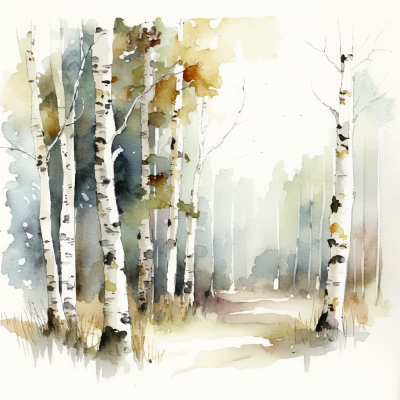
Pick something simple yet interesting, like a fruit, a tree, or a pet. Remember, you can always start with easy shapes and work your way up to more complex subjects.
Step 2: Set up your workspace
Tape your watercolor paper to the board using masking tape. Make sure it's secure, so it won't move around while you're painting.
For beginners, I don't like to stretch my watercolor paper. Instead, I make sure I get a heavier paper (at least 140lb cold press). Stretching the paper is a finicky process of soaking your paper until saturated and then taping it onto a board and letting it completely dry. It makes the whole project take an extra day or so and is done to help prevent the water from creating valleys in the paper that the paint pools in when you're painting. Heavier paper accomplishes the same thing and you can get right to the fun part!
Step 3: Sketch lightly
Using your pencil, sketch your subject on the watercolor paper. Keep your lines light and loose. Don't press too hard, as it will be difficult to erase later.
Step 4: Prepare your paints
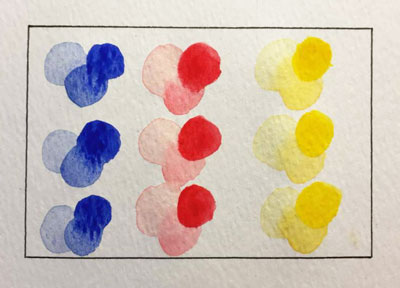
Put a few colors onto your palette. Start with primary colors (red, yellow, and blue) and mix them to create a variety of shades.
Step 5: Wet your brush
Dip your round brush into the water and then gently tap it on the edge of the container to remove excess water.
Step 6: Paint the background
This step is optional.
Using your wet brush, pick up some color from your palette and start painting the background. You can use a single color or mix different colors for a more interesting effect.
Remember, it's okay if the colors blend a bit – that's the beauty of watercolor! I actually like using a wet-on-wet technique for making backgrounds as I like the blended effect it gives.
Make sure to leave plenty of white space or light coloured background space for your subject.
Step 7: Paint your subject
Once the background is dry, start painting your subject. Use the flat brush for larger areas and the round brush for smaller details. Begin with lighter colors and gradually add darker shades to create depth.
Step 8: Experiment with techniques
Try different techniques to make your sketch more interesting. You can use the wet-on-wet technique (applying wet paint to wet paper) to create soft, blurry edges, or the wet-on-dry technique (applying wet paint to dry paper) for sharper, more defined shapes.
Step 9: Add final touches
When you're satisfied with your painting, add any final details using your brush, ink or a fine marker. This can include adding words, texture, highlights, or shadows.
Step 10: Allow your painting to dry
Once you've completed your watercolor sketch, let it dry completely. Then, carefully remove the masking tape from the edges.
Step 11: Display your masterpiece
Sign your artwork and find a special place to display it. Be proud of your creation and remember to practice regularly to improve your skills.
Remember, the most important part is to have fun and enjoy the process of creating art!
Top 10 Fun Tips for Watercolor Painting:
 Experiment with colors:
Don't be afraid to mix different colors on your palette or directly on the paper. Discover new shades and color combinations to make your paintings more interesting and unique.
 Play with textures:
Use household items like salt, plastic wrap, or a sponge to create interesting textures in your paintings. Apply these items while the paint is still wet and watch the magic happen as the paint dries.
- Embrace imperfections:
Watercolor painting is all about going with the flow. Embrace the unpredictability and let the colors blend and move in unexpected ways. This will give your paintings a natural, organic feel.
- Use a variety of brushes:
Different brushes can create different effects. Experiment with round, flat, and fan brushes to see how each one impacts your painting. You can even try using unconventional tools like toothbrushes, straws, or your fingers for unique textures.
 Layer your colors:
Build up depth and intensity in your paintings by layering colors. Start with lighter colors and gradually add darker shades, allowing each layer to dry before applying the next one. This technique is called glazing.
- Practice different techniques:
Wet-on-wet and wet-on-dry techniques are just the beginning. Try other techniques like dry brushing, lifting, and masking to expand your watercolor painting skills.
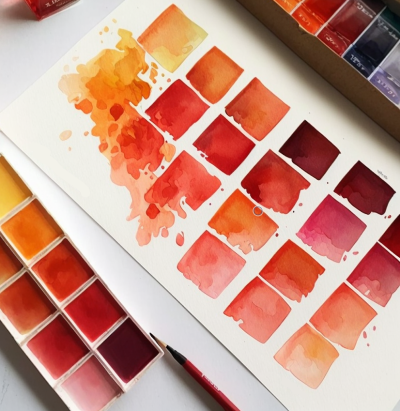 Create a color chart:
Make a color chart by painting swatches of all your watercolor paints on a sheet of watercolor paper. This will help you get familiar with your colors and make it easier to choose the right shades for your paintings.
 Preserve your whites:
Instead of using white paint, learn to preserve the white of the paper for highlights and lighter areas. This can be done by carefully painting around these areas or using masking fluid to protect them.
 Embracing the dark:
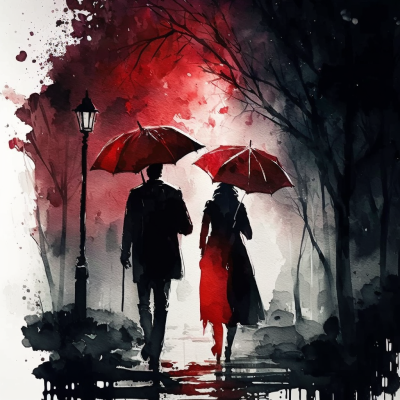
Embracing dark colours in watercolor painting can add depth and dimension to your artwork. Dark colours, such as indigo, payne's gray, and burnt umber, can create a sense of contrast and drama in your painting. Using these colours to create shadows and shading can give your artwork a sense of depth and make it more visually interesting. It's important to remember to use these colours sparingly, as too much dark color can overwhelm a painting. Additionally, using dark colours with little pops of contrasting light colour can be a great way to create a moody or atmospheric effect in your artwork. Overall, embracing dark colours in watercolor painting can add a level of sophistication and depth to your work.
 Break the rules:
Art is all about creativity and self-expression. Feel free to break the rules and try unconventional techniques, color combinations, or subject matter. The more you explore, the more you'll discover your unique artistic style. For example, I usually have a rule to not use black watercolour paint (instead I mix dark very colours with blues, purples or greens) as black tends to be flat. I often break this rule, though, when I paint a black and white picture accompanied by one primary colour (blue, yellow or red) as I find this really makes the colour pop.
- Enjoy the process:
Most importantly, have fun while you paint! Enjoy the process of learning, experimenting, and creating. Don't worry too much about the final result—each painting is a stepping stone on your artistic journey.
By incorporating these fun tips into your watercolor painting practice, you'll not only improve your skills but also develop a deeper love and appreciation for this beautiful art form. Happy painting!

More: